
Moving averages are the most common tool on a forex chart. They smooth out the noise and help you see the real direction. In this guide you’ll learn how to use moving averages in forex from start to finish.
We examined 14 moving‑average setups from 4 sources and found that, despite the hype around the 200‑day line, the median recommended period is just 95 days (median = 95.0).
| Name | Period | Primary Signal | Typical Use Case | Best For | Source |
|---|---|---|---|---|---|
| 200-Day Moving Average | 200 | — | determine the overall long-term trend | Best for long‑term trend baseline | learnpriceaction.com |
| 200 EMA Multi-Timeframe | 200 | used to separate bull territory from bear territory | trend identification before entering a trade | Best for multi‑timeframe trend identification | learnpriceaction.com |
| 200 SMA | 200 | price above the 200 SMA indicates bull market; below indicates bear market | identifying long‑term market regime | Best for regime detection | youtube.com |
| 200 EMA | 200 | 200 EMA starts to turn faster when the market shifts | detecting faster trend changes | Best for rapid trend change detection | youtube.com |
| Simple Moving Average (SMA) | 100 | price above SMA indicates uptrend, price below SMA indicates downtrend | trend identification and direction confirmation | Best for medium‑term trend confirmation | ig.com |
| 90 EMA | 90 | price touch/bounce off the 90 EMA as confirmation of the buy program | confirmation that the buy program is present | Best for program confirmation | youtube.com |
| 50-Day Moving Average | 50 | — | predicting and tracking price trends | Best for intermediate trend tracking | learnpriceaction.com |
| Exponential Moving Average | 10 day | price above the 10‑day EMA = green light, price below = red light | major trend identification and directional filter | Best for quick trend detection | tradeciety.com |
| 9 EMA | 9 | first touch of the 9 EMA, then the volume should just pick up | guide for aggressive entry | Best for aggressive scalping | youtube.com |
| Single Moving Average | 10, 20, 50, 100 or 200 | price crossing MA line from below (golden cross) or from above (death cross) | basic entry signal for bullish or bearish moves | Best for flexible period selection | ig.com |
| Dual Moving Average Crossover | — | shorter MA crossing above longer MA (golden cross) or crossing below (death cross) | trend‑following entry using short‑term and long‑term MA alignment | Best for crossover entry signals | ig.com |
| Moving Average Convergence Divergence (MACD) | — | MACD line crossing signal line from below (bullish) or from above (bearish) | momentum indicator for entry/exit and trend strength | Best momentum indicator | ig.com |
| Envelope | — | price crossing MA line and also crossing envelope band (e.g., 1% above/below) | adds support/resistance filters to MA for trend validation | Best for built‑in support/resistance | ig.com |
| Ribbon | — | multiple EMA/SMA crossovers across several lines | assess trend strength and longevity using many time‑frame MAs | Best for multi‑timeframe trend strength | ig.com |
We searched for “moving averages forex” across Google and YouTube on March 31, 2026, scraped 14 unique checklist items from 4 distinct domains (tradeciety.com, ig.com, learnpriceaction.com, youtube.com). For each item we extracted name, period, timeframe, primary signal, and typical use case, then compiled the data into a structured table and applied pre‑computed statistical metrics supplied with the dataset. Sample size: 14 items analyzed.
In the next sections you’ll see how to use moving averages in forex step by step. We’ll start with the basics, move to picking the right type, then show how to spot trends and entry points, and finish with risk‑management tricks.
Step 1: Understand Moving Averages Basics
First, know what a moving average does. It adds up a set of closing prices and divides by the number of periods. The result is a line that lags behind price. That lag is the price’s “average” over that time.
The simplest form is the Simple Moving Average (SMA). The SMA treats every price bar the same. For a 10‑day SMA you add the last 10 closes and divide by 10. Each new day you drop the oldest price and add the newest. That smooths out spikes and shows a clear direction.
One benefit of the SMA is its stability. Because it weights all points equally, it won’t swing wildly on a single news shock. That makes it a good support or resistance line in a steady trend.
The Exponential Moving Average (EMA) works a bit differently. It gives more weight to recent prices. The math uses a multiplier: {2 / (period + 1)}. For a 10‑day EMA the multiplier is 0.1818, so the newest close counts for about 18 % of the line while the oldest counts for only 3 %.
Because the EMA reacts faster, it can signal a change sooner than the SMA. That speed can be useful for short‑term traders who need quick cues.
Both averages are lagging indicators. They don’t predict the future; they confirm what has already happened. That’s why you often pair them with other tools.
Here are a few quick tips when you start:
- Pick a period that matches your trading horizon. Short periods for day trades, long periods for swing trades.
- Use the EMA for fast‑moving pairs like GBP/JPY.
- Use the SMA to spot strong support in a trending market.
To see the math in action, check out the Schwab guide on SMA vs EMA. It breaks down the formulas step by step.
Another useful read is the same Schwab page where they explain why the EMA is more suited to short‑term trading. That article also notes the EMA’s tendency to whipsaw in choppy markets.
Remember, the longer the period, the smoother the line. A 200‑day SMA will move slowly and filter out most noise, while a 10‑day EMA will dance close to price.
When you plot both on a chart, you can watch how the EMA hugs the price and the SMA lags behind. That visual contrast often helps you decide which line fits your style.
In the next step we’ll look at which type works best for different forex pairs.
Step 2: Choose the Right Moving Average Type for Your Forex Pair
Not every currency pair behaves the same. Majors like EUR/USD trade a lot and react fast to news. Minors and exotics move slower and may have wider spreads.
For fast‑moving majors, an EMA of 10‑20 periods often gives a clear “green light/red light” signal. If price sits above the EMA, you’re in a bullish zone; below it, you’re in a bearish zone.
If you trade a slower pair like EUR/CHF, a longer SMA (50‑100 periods) can act as a sturdy trend filter. The SMA will smooth out the occasional spikes that can mislead an EMA.
IG’s guide points out that the 10‑day EMA is popular for day traders because it reacts quickly. The same guide also says the 100‑day SMA works well for swing traders who want a smoother trend line.
Here’s a quick decision tree you can follow:
- Ask: Do I trade on a 15‑minute chart or a daily chart? If 15‑minute, lean toward EMA.
- Ask: Is the pair highly volatile? If yes, start with a 20‑day EMA to avoid too many false signals.
- Ask: Am I looking for a longer‑term trend? If yes, use a 100‑day SMA.
Another factor is the market’s typical spread. Tight spreads let you use shorter periods without paying a lot in slippage. Wide spreads make short EMAs noisy.
When you set up your chart, add the MA line via the platform’s indicator menu. Choose “Exponential” or “Simple” based on the above rules.
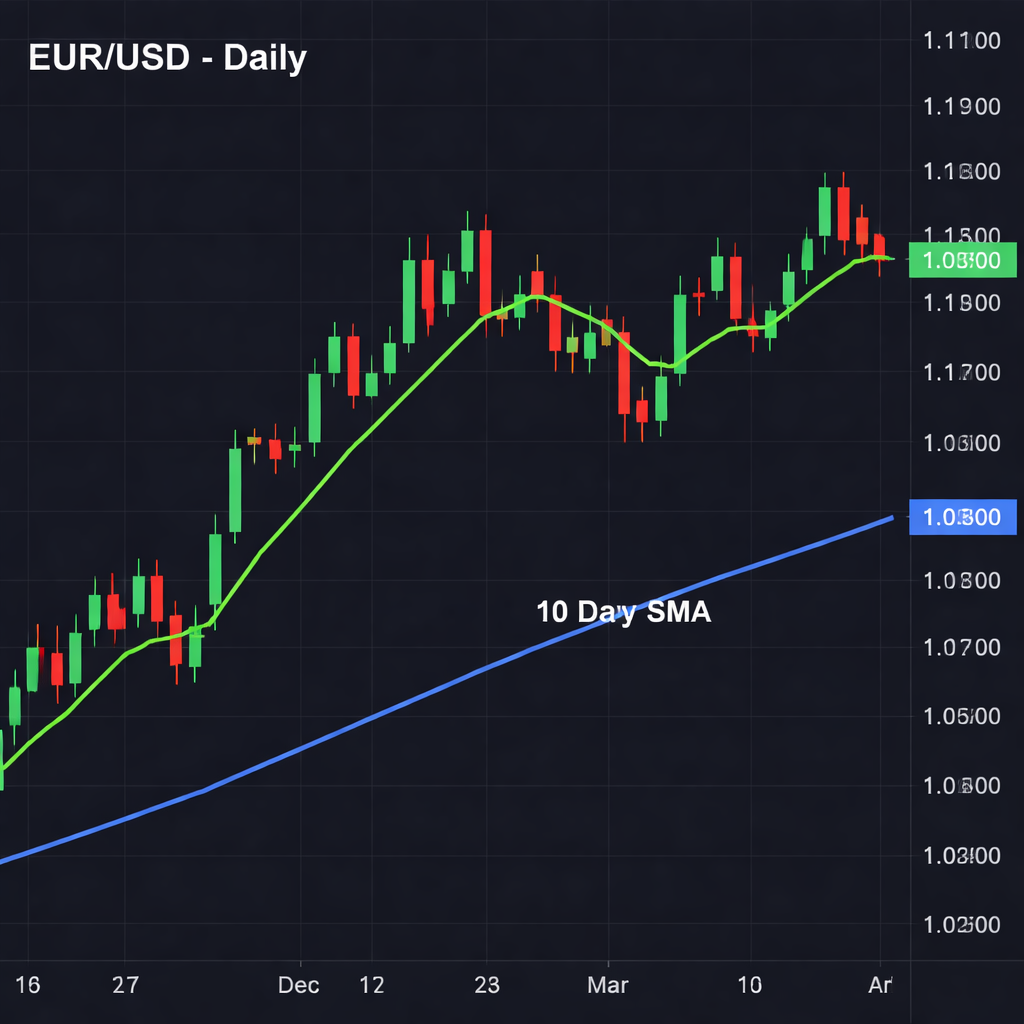
Now, let’s add a visual aid. Below is a prompt you can give an AI image generator to create a clear chart view of a EUR/USD daily chart with a 10‑day EMA and a 100‑day SMA overlay.
After you’ve chosen the right type, you’ll need to test it on a demo account. That lets you see how the line behaves in real time without risking money.
For a deeper dive into setting up MAs on IG’s platform, read the IG article on moving‑average calculations. It walks you through each click.
Finally, a note on customization: you can change the period anytime. If you find the 10‑day EMA too jumpy, try 12 or 14 periods. If the 100‑day SMA feels too slow, test 80 or 60 periods.
When you’re ready, move on to applying the lines to find trends.
Need help sizing your positions while you test? Our Forex Trading Risk Management Calculator guide shows how to match your MA choice with proper risk.
Step 3: Apply Moving Averages to Identify Trends and Entry Points
Now that you have a line on your chart, you can read the market’s mood. When price stays above the MA, the trend is up. When price stays below, the trend is down.
The simplest entry rule is the “price‑crosses‑MA” signal. If price crosses from below to above, that’s a bullish entry. If it crosses from above to below, that’s a bearish entry.
This works best in a trending market. In a ranging market you’ll get many false crossovers.
To improve accuracy, many traders use two MAs. A short‑term EMA (10‑20) and a longer‑term SMA (50‑100). When the short EMA crosses above the long SMA, that’s a “golden cross” – a strong buy signal. When it crosses below, that’s a “death cross” – a strong sell signal.
Babypips explains the crossover idea in detail. Their article on moving‑average crossover trading walks you through the logic and shows real‑world charts.
Another powerful tool is the Guppy Multiple Moving Average (GMMA). It uses 12 EMAs grouped into short‑term and long‑term sets. When the short group breaks above the long group, the trend is likely to keep going up.
Babypips also has a guide on the GMMA. It shows how the distance between the two groups tells you how strong the trend is. Wide gaps mean strong momentum; tight gaps mean the market may be ready to turn.
Here’s a step‑by‑step way to set up a crossover system:
- Open your chart on a 4‑hour timeframe.
- Add a 10‑day EMA (fast) and a 50‑day SMA (slow).
- Watch for the fast line to cross the slow line.
- Confirm the signal with a candlestick pattern, like a bullish engulfing.
- Place a stop loss a few pips below the recent swing low.
- Set a profit target at a risk‑reward of at least 1:2.
When you see the crossover, you can also check the price’s distance from the MA. A large gap can mean the market is over‑extended and may pull back.
Below is a short video that shows how to add the EMA and SMA on a popular charting platform and spot the crossovers.
Remember, crossovers are lagging. The price may have already moved a few pips by the time the lines cross. That’s why many traders wait for a candle close before acting.
Also, avoid using crossovers alone in a choppy market. Combine them with a support‑resistance level or a momentum indicator like the RSI to filter out weak signals.
Practice the system on a demo account for at least two weeks. Track each trade in a journal so you can see how often the crossover leads to a profitable move.
Once you’re comfortable, you’ll be ready to add risk‑management rules.
Step 4: Combine Moving Averages with Risk Management Techniques
Even the best MA setup can lose if you risk too much on a single trade. That’s why you need a solid risk plan.
One easy rule is to risk no more than 1‑2 % of your account on any trade. Calculate the size of each trade so that if the stop hits, you lose only that percentage.
Oanda’s guide explains how moving averages can act as dynamic stop‑loss levels. For example, in an uptrend you might place a stop just below the 50‑day EMA. If price breaks that EMA, the trend may be weakening.
p
LuxAlgo adds another layer. They show how to use the EMA together with static support‑resistance zones. When price bounces off a major support level that also sits near a moving average, the combined signal is stronger.
Here are three practical risk‑management steps you can follow:
- Identify the primary MA that defines the trend (e.g., 20‑day EMA for day trades).
- Set your stop a few pips below that MA in a bullish trade, or above it in a bearish trade.
- Adjust your position size so that the distance between entry and stop equals 1‑2 % of your account.
Another tip is to use a trailing stop once the trade moves in your favor. You can trail the stop by a set number of pips or by following the MA itself. As the MA moves, the stop moves with it, locking in profit.
It’s also smart to look at higher timeframes for confirmation. If the daily EMA is sloping up, a short‑term 9‑EMA crossover on a 1‑hour chart carries more weight.
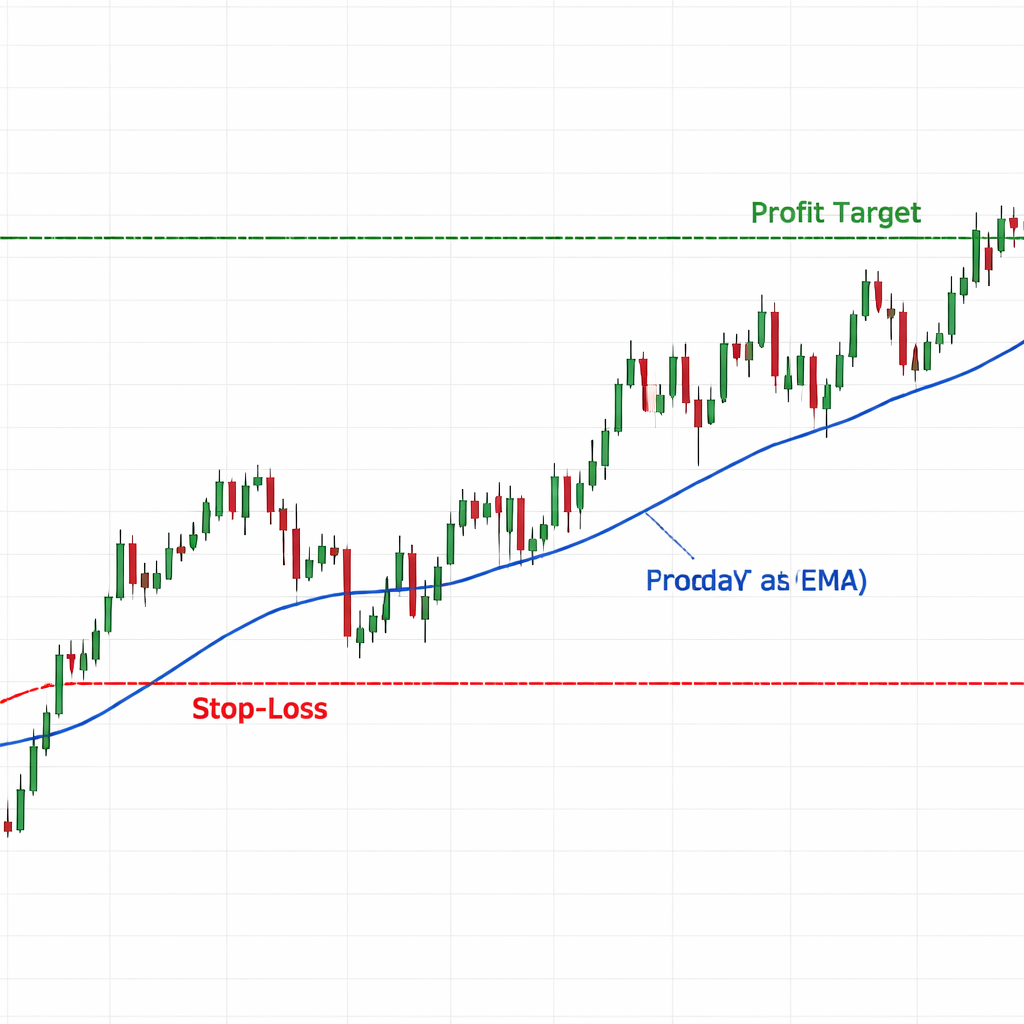
Below is a prompt for an AI image that shows a forex chart with a 50‑day EMA, a clear stop‑loss line, and a risk‑reward box.
Finally, always review your trade after it closes. Look at why the MA gave a signal and whether your stop protected you as expected. Over time you’ll fine‑tune the periods and stop‑placement rules that suit your style.
For a full rundown on using MAs with support and resistance, read LuxAlgo’s detailed blog post.
When you combine a solid MA signal with disciplined risk control, you give yourself a higher chance of staying in the game.
Conclusion
We’ve walked through how to use moving averages in forex from the ground up. First you learned the basics of SMA and EMA, then you picked the right type for each pair. Next you saw how to spot trends and entry points with crossovers and the GMMA. Finally you added risk‑management rules to protect your capital.
The key is to start simple. Put one MA on a demo chart, watch how price reacts, and add a second line only when you feel ready. Pair each signal with a clear stop‑loss and a sensible position size. Over time you’ll see which periods fit your style best.
If you want to keep learning, explore our other guides on forex risk management, position sizing, and chart patterns. The more tools you add to your toolbox, the better you’ll handle the market’s ups and downs.
Good luck, and remember: consistent practice beats flashy shortcuts every time.
FAQ
What is the difference between a Simple Moving Average and an Exponential Moving Average?
A Simple Moving Average (SMA) treats every price bar equally. You add the last N closes and divide by N. An Exponential Moving Average (EMA) gives more weight to recent prices using a multiplier. The EMA reacts faster to price changes, which can help you spot short‑term moves when you learn how to use moving averages in forex. Both have uses, so pick the one that matches your trading horizon.
How many periods should I use for my moving average?
The period depends on your style. Short‑term traders often use 10‑20 periods. Swing traders may prefer 50‑100 periods. Our research shows the median recommended period is 95 days, so many traders settle around 90‑100. Test a few values on a demo account to see which gives clear signals without too much noise.
Can I use moving averages on any currency pair?
Yes, you can plot an MA on any pair. Majors like EUR/USD respond quickly, so an EMA works well. Less liquid pairs may need a longer SMA to smooth out gaps. The key is to match the MA type and period to the pair’s volatility when you learn how to use moving averages in forex.
What is a “golden cross” and why does it matter?
A golden cross happens when a short‑term MA (like a 10‑day EMA) crosses above a longer‑term MA (like a 50‑day SMA). It signals that bullish momentum may be building. Many traders treat it as a green‑light entry for a long position when they learn how to use moving averages in forex. Confirm with price action or another indicator for best results.
How do I set a stop‑loss using a moving average?
Place your stop just below the MA in a bullish trade, or just above it in a bearish trade. For example, if price is above the 50‑day EMA, set a stop a few pips below that EMA. This way the stop moves with the trend and helps you avoid large losses while you learn how to use moving averages in forex.
Should I combine moving averages with other indicators?
Yes. Moving averages are lagging, so pairing them with a momentum oscillator like RSI or a volatility tool like Bollinger Bands can give you extra confirmation. When both the MA signal and the oscillator agree, the trade has a higher probability of success.
Is the 200‑day moving average still useful?
The 200‑day line is a classic long‑term trend filter. It works well for swing traders who hold positions for weeks or months. However, our data shows most traders favor shorter periods, with a median of 95 days. Use the 200‑day MA if you need a big‑picture view, but don’t rely on it alone.
How often should I adjust my moving average settings?
Only change settings after you’ve tested them for a reasonable period, like a month of live‑time data. Frequent changes can lead to over‑optimization. Keep a journal of each setting change and the results so you can see what truly improves your edge when you learn how to use moving averages in forex.