
Imagine you sit at your desk at 9 am, coffee in hand, and you see the EUR/USD chart flicker. You feel the urge to jump in, but you’re not sure if the move fits your plan. You could trade on impulse and lose a few pips, or you could pull out a simple forex trading checklist template and run through each step. That tiny sheet can stop you from making a costly mistake. It reminds you to check your risk, your entry, your stop‑loss, and your profit target before you click “buy.” A few minutes of discipline can save hours of regret.
Many traders start without a plan. They watch the news, see a big spike, and think “this is my chance.” The next day they see their account dip. That’s why a forex trading checklist template is worth its weight in gold. It forces you to answer the right questions, keeps emotions out, and gives you a repeatable routine. In this guide we’ll walk through each part of a solid checklist, show you how to fill it out, and give you a ready‑to‑print PDF you can tweak for your own style.
We’ll also point you to a Forex Trading Plan Template: A Step‑By‑Step Guide for Beginners that ties the checklist to a broader plan. Let’s get started.
Step 1: Define Your Trading Goals and Risk Tolerance
The first line of any forex trading checklist template asks you to write down what you want to achieve. Are you aiming for a modest extra income, or are you testing a new strategy? Write a clear, measurable goal. For example, “I want to grow my account by 10 % over the next three months.”
Next, think about how much you can lose without hurting your life. Risk tolerance is personal. If a $200 loss would keep you up at night, set your per‑trade risk lower than that. Most traders keep risk per trade between 1 % and 3 % of their account.
Why does this matter? A goal gives you direction. Risk tolerance sets a hard ceiling that protects your capital. When you look at your forex trading checklist template each day, you’ll see these numbers and stay honest.
- Write your goal in a notebook or spreadsheet.
- Calculate 1 % of your account size.
- Set a daily loss limit (e.g., 3 % of total equity).
Use this simple rule: if a trade would push you over your loss limit, skip it. That rule alone can keep you from a string of bad trades.
For more background on why a checklist matters, see the Maven Trading quick start guide here. You can also read LiteFinance’s beginner checklist article here. For a related read on event planning, check out Photo Booth Rental for Graduation Party: A Step‑by‑Step Guide.
Step 2: Choose Trading Sessions and Currency Pairs
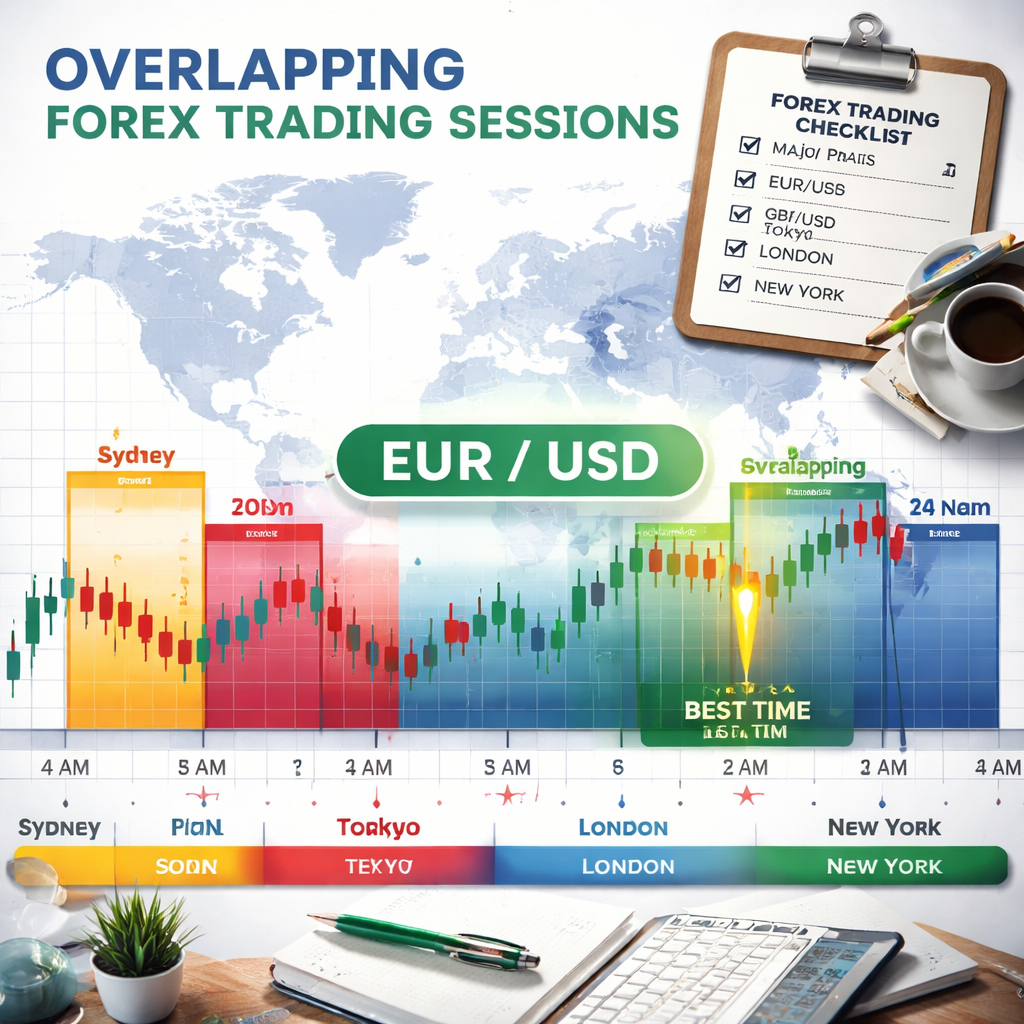
Forex markets run 24 hours a day, five days a week. But not every hour is equal. The London, New York, and Tokyo sessions each have their own rhythm. Decide which session fits your schedule. If you can watch the screen from 8 am to 12 pm EST, the New York overlap is a good choice.
Next, pick the pairs you’ll trade. Major pairs like EUR/USD, GBP/USD, and USD/JPY have tight spreads and deep liquidity. Exotic pairs can look tempting but often have wide spreads and sudden spikes.
Here’s a quick way to decide:
- Check the average spread on your broker’s platform.
- Look at the pair’s daily volatility (ATR can help).
- Match the pair’s active hours to your chosen session.
Example: If you trade the London session, GBP/USD often shows strong moves because the UK market is awake. Pair that with a low spread and you have a solid setup.
For deeper insight, read IG’s checklist article here and DefcoFX’s guide here. You might also like How to Choose the Perfect Wedding Photo Booth Rental: A Step‑by‑Step Guide for event‑related ideas.
Step 3: Set Entry Criteria and Technical Tools
Now that you know when and what to trade, decide how you’ll enter. Your forex trading checklist template should list the exact signals you need. Common entry tools include moving averages, support‑resistance zones, and candlestick patterns.
Pick no more than three tools. Too many indicators cause analysis paralysis. For example, you might use a 50‑period EMA to spot trend direction, a recent swing high/low for entry zones, and a bullish engulfing candle as confirmation.
Write the rule in plain language: “Enter long when price is above the 50‑EMA, pulls back to the previous swing low, and shows a bullish engulfing candle on the 15‑minute chart.”
- Test the rule on past data (back‑test).
- Note the time frame you’ll use for each tool.
- Set an alert on your platform for the candle pattern.
Why this works: Clear criteria reduce the urge to “guess” and keep you from chasing false signals.
For more ideas on entry rules, see the Maven Trading article here and the LiteFinance guide here. Also, explore Everything You Need to Know About 360 Video Booth Rental for creative inspiration.
Step 4: Determine Position Sizing and Stop‑Loss Rules
Position size tells you how many lots to trade. Use the risk amount you set in Step 1. A simple formula is:
Position Size = (Risk per Trade) ÷ (Stop‑Loss in Pips × Pip Value)
If you risk $100, your stop‑loss is 50 pips, and each pip is $1, you’d trade 2 lots (2 × 50 × 1 = 100).
Place your stop‑loss where the trade idea breaks down. If you entered at a support zone, put the stop just below that zone, maybe a few pips lower or one ATR away.
Why a good stop matters: It caps loss if the market turns against you. A poorly placed stop can get hit on noise, turning a good trade into a loss.
| Risk % | Account $ | Risk $ | Stop‑Loss (pips) | Pip Value | Lot Size |
|---|---|---|---|---|---|
| 1 % | 10,000 | 100 | 50 | 1 | 2.0 |
| 2 % | 10,000 | 200 | 50 | 1 | 4.0 |
Watch the video below for a quick walkthrough of how to set stops and size positions.
Read Rayner Teo’s checklist on entry timing here. For an extra tip, see How to Choose the Best Corporate Event Photo Booth Rental for Your Business.
Step 5: Review, Log and Adjust Your Trades
After the market closes, your forex trading checklist template should have a section for post‑trade review. Write down what you did, why you entered, and how the trade ended. This creates a habit of learning.
Key points to log:
- Entry price and time.
- Stop‑loss and take‑profit levels.
- Actual outcome (profit or loss).
- Emotions you felt during the trade.
- What you would change next time.
Why log? Patterns emerge. Maybe you always lose when you trade after a big news release. Seeing that on paper helps you avoid the mistake.
Use a simple spreadsheet or a printable PDF. The checklist generator site offers a ready‑made format here. Keep the file on your desktop for quick access.
Other useful reads: Maven Trading’s checklist article here and LiteFinance’s guide here. For a fun side note, you might like Birthday Party Photo Booth Rental Guide for 2026.
Conclusion
Building a forex trading checklist template is not a fancy task. It’s a simple habit that can keep you safe, focused, and consistent. Start by writing your goals and risk limit. Choose the right session and pair. Set clear entry rules with just a few tools. Size your position and lock in a sensible stop‑loss. Finally, log every trade and review it each day.
When you follow these steps, you’ll see fewer impulse trades and more steady progress. Grab a PDF version of the template, fill it out, and keep it by your monitor. Over time the checklist becomes a second nature, and your trading will feel more like a plan and less like a gamble.
Frequently Asked Questions
What should I write in the “goal” part of my forex trading checklist template?
Write a specific, measurable target such as “grow the account by 8 % in six months” or “make $200 profit per week.” Keep it realistic and tie it to your risk tolerance. This clarity helps you stay on track and assess whether each trade moves you toward that goal.
How often should I update my forex trading checklist template?
Review the checklist at the start of each trading day and after every trade. If a rule no longer fits your style or market conditions change, adjust it. A weekly review helps you spot trends in your performance and keep the template relevant.
Can I use the same checklist for both day trading and swing trading?
You can, but you’ll need separate sections for time‑frame specific rules. Day trading may need tighter stops and faster alerts, while swing trading can allow wider stops and longer profit targets. Adjust the risk‑to‑reward ratios accordingly.
What is a good risk‑to‑reward ratio to put in my forex trading checklist template?
A common rule is at least 1 : 2. That means you risk $1 to aim for $2 profit. Write this ratio in the checklist and only take trades that meet or exceed it. Over time the higher wins can cover the occasional loss.
How do I calculate position size using my forex trading checklist template?
First, decide how much money you’ll risk per trade (e.g., 1 % of account). Then divide that amount by the stop‑loss distance in pips multiplied by the pip value. The result tells you how many lots to trade. Write the formula in the template for quick reference.
Why is a post‑trade review important in my forex trading checklist template?
Logging each trade forces you to reflect on what worked and what didn’t. Over weeks, patterns appear—like losing trades after news events or when you skip your stop‑loss. The review section turns experience into data you can act on.
Should I include news checks in my forex trading checklist template?
Yes. Add a line that reminds you to glance at an economic calendar before you open a position. Note major events like NFP, CPI, or central‑bank speeches. If you don’t trade news, the checklist can tell you to stay out during high‑impact releases.
How can I keep my forex trading checklist template organized?
Use headings, bullet points, and a table for risk calculations. Keep it on a single page or a two‑page PDF. A clean layout makes it easy to scan quickly, especially when the market moves fast.