
One bad trade can wipe out weeks of hard work. Most traders learn that the hard way, then scramble for a fix. In this guide we’ll break down 32 risk management techniques for forex traders, give you step‑by‑step examples, and show how to lock in profits while keeping losses small.
By the end you’ll know how to size every position, set stops that work, balance use, master the psychology, and add advanced tools like hedging and AI‑driven calculators. Let’s get started.
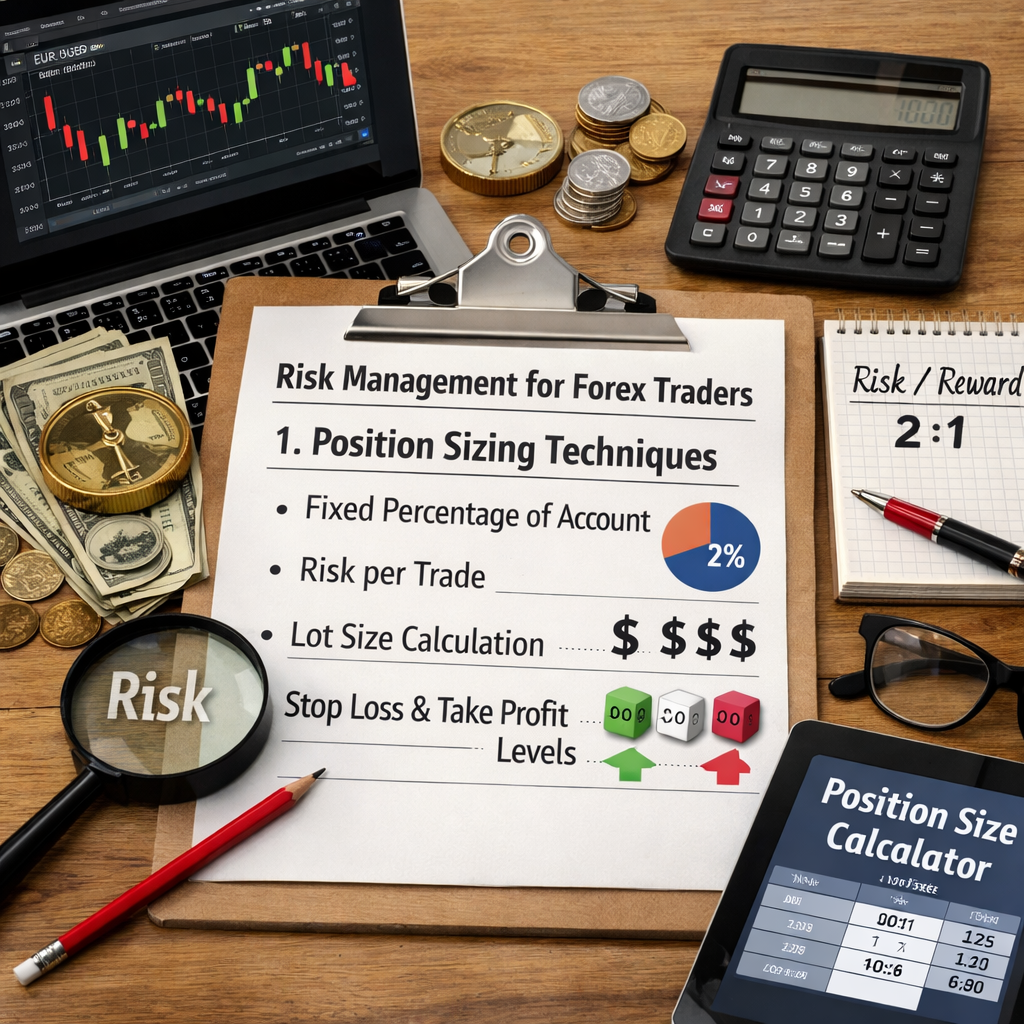
1. Position Sizing Techniques
Position size is the amount of money you put on a trade. It’s the single factor that decides whether a string of losses will kill your account or just nibble at it. The most common rule is the 1‑2% rule , never risk more than 2 % of your equity on any single trade. That number comes straight from the research that shows only about 10 % of listed techniques actually give a concrete risk limit.
Here’s how to calculate it in three easy steps:
- Pick your risk‑per‑trade percentage (most traders start with 1 %).
- Measure the distance in pips from entry to stop‑loss.
- Use a position‑size calculator or a simple formula:
Position size = (Account equity × Risk %) ÷ (Pip value × Stop‑loss pips).
Example: You have a $10,000 account, risk 1 % ($100). You plan to buy EUR/USD at 1.1200 with a stop at 1.1150 (50 pips). If each pip is worth $0.10 for a standard lot, the lot size would be $100 ÷ (0.10 × 50) = 0.02 lots (2,000 units). That tiny lot keeps your loss at $100 if the stop hits.
Why does this matter? Because it removes guesswork. You’ll never over‑expose yourself, even if you hit a losing streak.
Different accounts need different tweaks. Demo accounts can afford a slightly higher % to speed up learning, but live accounts should stay at or below 1 % for most traders. Prop‑firm accounts often have a max‑drawdown rule (e.g., 10 %); using 0.5 % per trade gives you a wide safety buffer.
Advanced traders sometimes use the Kelly Criterion to find an optimal % based on win rate and payoff ratio, but the Kelly result is usually higher than what most retail traders can safely handle. Treat Kelly as a theoretical ceiling, not a daily rule.
Position sizing also works across currency pairs. If you trade a volatile pair like GBP/JPY, you might tighten your stop‑loss and therefore reduce lot size even more.
Forex Risk Management Strategies: A Practical Guide for Traders walks through how to build a personal sizing rule.
Bottom line:A solid position‑sizing rule caps loss per trade, keeping you in the game long enough to let good trades win.
2. Stop‑Loss and Take‑Profit Strategies
Stops and targets are the brakes and the finish line of every trade. Without them you leave outcomes to emotion, and that’s a fast road to ruin.
First, set a stop‑loss as soon as you place the trade. Use market structure , swing highs/lows, recent support/resistance , to pick a level where the trade idea is proven wrong. A stop that’s too tight gets you out on noise; one that’s too loose lets a small loss turn huge.
Take‑profit works the same way but in reverse. Decide your risk‑reward ratio before you enter. The classic 1:2 ratio means you aim to make twice what you risk. If you risk 50 pips, set a target 100 pips away.
Many traders use a trailing stop to lock in gains as the market moves in their favor. A trailing stop moves up (for longs) or down (for shorts) by a set amount of pips, but never moves back. Nick Goold explains that a trailing stop “allows you to stay in the trade while gradually protecting your gains” and reduces the need to guess a perfect exit point. TitanFX explains how a trailing stop works and why it fits well in trending markets.
When you combine a fixed stop with a trailing stop, you get the best of both worlds: a hard loss limit and a dynamic profit lock. Set the initial stop, then once the trade is 1 R in profit, switch on a trailing stop of 30‑50 pips depending on volatility.
Don’t forget to factor in spread and commission when you place stops. A tight stop that sits inside the spread will be hit instantly, turning a planned loss into an immediate loss.
For short‑term scalpers, a time‑based stop (exit after a set number of bars) can also help prevent over‑trading.
Bottom line:Proper stop‑loss and take‑profit rules turn every trade into a controlled experiment, not a gamble.
3. Risk‑Reward Ratio and Use Management
The risk‑reward ratio (R:R) tells you how much you stand to gain versus lose on a trade. A high R:R gives you room for error, while a low R:R forces you to be right most of the time.
Start with a minimum 1:2 ratio. That means for every $1 you risk, you aim to make $2. If you consistently hit a 1:2 R:R and win 55 % of trades, you’ll be profitable.
Use lets you control a larger position with a smaller amount of capital. Brokers often offer up to 50:1 or more, but the research shows only 10 % of traders follow a concrete use guideline, and the only clear rule is to stay at or below 10:1. Higher use magnifies both gains and losses, so treat it like a double‑edged sword.
Here’s a step‑by‑step way to match R:R with use:
- Pick your risk‑per‑trade % (e.g., 1 %).
- Determine stop‑loss distance in pips.
- Set target pips to meet at least a 1:2 R:R.
- Calculate the required lot size using the formula in Section 1.
- Apply use: if you use 10:1, your required margin is 10 % of the position size. Ensure the margin does not exceed your account’s free margin.
Example: With a $10,000 account, risk 1 % ($100). Your stop is 40 pips, target 80 pips. Pip value for a mini lot (10,000 units) on EUR/USD is $0.10, so required lot size = $100 ÷ (0.10×40) = 0.025 lots (2,500 units). Using 10:1 use, you need $250 margin , well within a $1,000 free margin buffer.
Why keep use low? Because a sudden 2 % move can wipe out a 10:1 used position in seconds, whereas a 5:1 position would survive longer, giving you time to react.
Advanced traders sometimes use a variable use approach: lower use on high‑volatility sessions (e.g., London) and slightly higher during calm periods (e.g., New York). This requires a good volatility gauge like the Average True Range (ATR).
Bottom line:A disciplined R:R and modest use together prevent a single move from erasing your equity.
4. Psychological and Behavioral Techniques
Even the best math fails if your mind rebels. Discipline, routine, and self‑awareness are the invisible safety nets that keep you from breaking your own rules.
Start with a written trading plan. It should spell out entry criteria, stop‑loss level, target, risk‑per‑trade, and the time‑frame you’ll trade. The plan becomes a contract you sign with yourself. As the Dukascopy article notes, “trading discipline is the bedrock of successful forex trading” and the 1‑2 % principle is the core rule most pros follow.
Keep a trading journal. Record not just price, size, and outcome, but also how you felt before, during, and after the trade. Over weeks you’ll spot patterns , maybe you over‑risk after a loss, or you skip your stop when you’re over‑confident.
Use pre‑trade routines to get in the right headspace. Simple actions like a 2‑minute breathing exercise, a cup of water, or a quick glance at your daily risk budget can calm nerves.
Set clear drawdown limits. For example, if your account drops 5 % from its peak, stop trading for the day and review the journal. This “hard stop” stops emotional revenge trades.
Mentorship helps too. Talking through a losing streak with a more experienced trader can give you perspective and stop you from spiraling.
When a big win hits, resist the urge to increase position size. Instead, keep your risk‑per‑trade the same; let the larger equity do the work.
Finally, treat trading like a sport: proper sleep, nutrition, and exercise keep the brain sharp. A tired mind is more likely to ignore stop‑losses.
Dukascopy’s guide to trading discipline explains why the 1‑2 % rule and strict journaling matter.
Bottom line:Psychological habits are the glue that hold your risk‑management system together.
5. Advanced Risk Management Techniques
Once you’ve mastered the basics, you can layer on tools that add precision or hedge larger exposures.
Hedging is the most common corporate‑level technique. It involves taking an opposite position to offset potential losses. U.S. Bank notes that hedging can reduce cash‑flow volatility and protect earnings, especially for businesses with long‑term foreign‑currency contracts. The downside? Hedging costs a premium, whether you use forwards or options.
For prop‑firm traders, the biggest advanced tool is a prop‑firm‑specific risk‑limit system. Maven Trading points out that prop firms often impose a max drawdown (e.g., 10 %). By tracking your daily % loss and pausing when you hit 2 % of the drawdown limit, you avoid a sudden breach that would close your account.
AI‑optimized stop‑losses are another frontier. Some platforms use machine learning to suggest stop distances based on recent volatility and price action. While promising, the research shows most traders don’t have clear quantitative guidance on how to blend AI suggestions with their own risk limits.
Correlation matrices help you avoid over‑exposure to similar pairs. If you’re long EUR/USD and long GBP/USD, a strong Euro move could hit both trades. Use a matrix to keep total net exposure below a set threshold (e.g., 1 % of equity).
Value‑at‑Risk (VaR) models estimate the worst‑case loss over a set period with a given confidence level. Though more common in institutions, a simple VaR calculator can give you a daily risk ceiling.
Remember, every advanced tool should still respect the core 1‑2 % rule. If a hedge costs a premium, factor that premium into your risk‑per‑trade calculation.
U.S. Bank’s overview of FX hedging strategies shows how corporations use hedges to smooth cash flows.
Bottom line:Use advanced techniques to fine‑tune risk, not to replace the foundational limits you’ve already set.
Frequently Asked Questions
What is the 1‑2 % rule and why should I use it?
The 1‑2 % rule means you never risk more than 2 % of your account on a single trade. It caps loss size, lets you survive a series of losing trades, and keeps emotions in check. By keeping each loss small, you avoid the panic that comes from big drawdowns.
How do I calculate the exact lot size for a trade?
First decide your risk amount (Account × Risk %). Then measure the stop‑loss distance in pips. Finally use the formula: Lot size = (Risk $) ÷ (Pip value × Stop‑loss pips). Most platforms have a built‑in calculator; you can also use a spreadsheet to automate the process.
Should I use a fixed stop‑loss or a trailing stop?
Both have a place. Fixed stops protect you from large losses early on. Trailing stops let you lock in gains as the market moves in your favor. A common approach is to set a fixed stop at entry, then switch to a trailing stop once the trade is 1 R in profit.
How does use affect my risk?
Use magnifies both profit and loss. With 10:1 use, a 1 % move in the market changes your position value by 10 %. Keeping use at or below 10:1, as the research suggests, limits the speed at which losses can grow, making it easier to stay within your risk limits.
What psychological habits help keep risk low?
Maintain a written trading plan, keep a detailed journal, set daily drawdown limits, and use pre‑trade routines to calm nerves. Reviewing your journal weekly shows patterns that you can correct before they turn costly.
Are hedging strategies only for large institutions?
While hedging is common for corporations, individual traders can also use simple hedges like opposite positions on correlated pairs or short‑term forwards. The key is to understand the cost (premiums) and to match hedge size with the exposure you’re protecting.
How can I track my overall risk exposure across multiple pairs?
Use a correlation matrix or a risk dashboard that sums the % risk of each open trade. If the total risk exceeds your set threshold (e.g., 3 % of equity), consider scaling down or closing some positions.
What tools can help me automate risk management?
Many brokers offer built‑in risk calculators, automated stop‑loss orders, and trailing stops. Some third‑party platforms provide AI‑driven suggestions, but always test them on a demo account first and ensure they respect your core risk limits.
Conclusion
Risk management techniques for forex traders are the foundation of long‑term success. From the simple act of sizing each position to the sophisticated use of hedging and AI‑driven stops, every layer adds protection and consistency. Stick to the 1‑2 % rule, respect your R:R, keep use low, and build disciplined habits. When you treat risk as a series of small, repeatable steps rather than a vague concept, you give yourself the space to learn, grow, and profit over time.
Ready to dive deeper? Check out our Forex Trading Plan Example PDF to create a custom plan that weaves all these techniques together.
Remember, the market will always have surprises. Your job is to make sure those surprises never wipe out your account.