
When your trade hits the server a split second late, the market can move against you. That lag feels like a tiny thief stealing potential profit.
Speed isn’t about fancy hardware alone; it’s the sum of small habits you build every day. Think of your trading routine as a relay race – each handoff must be smooth, or the baton drops.
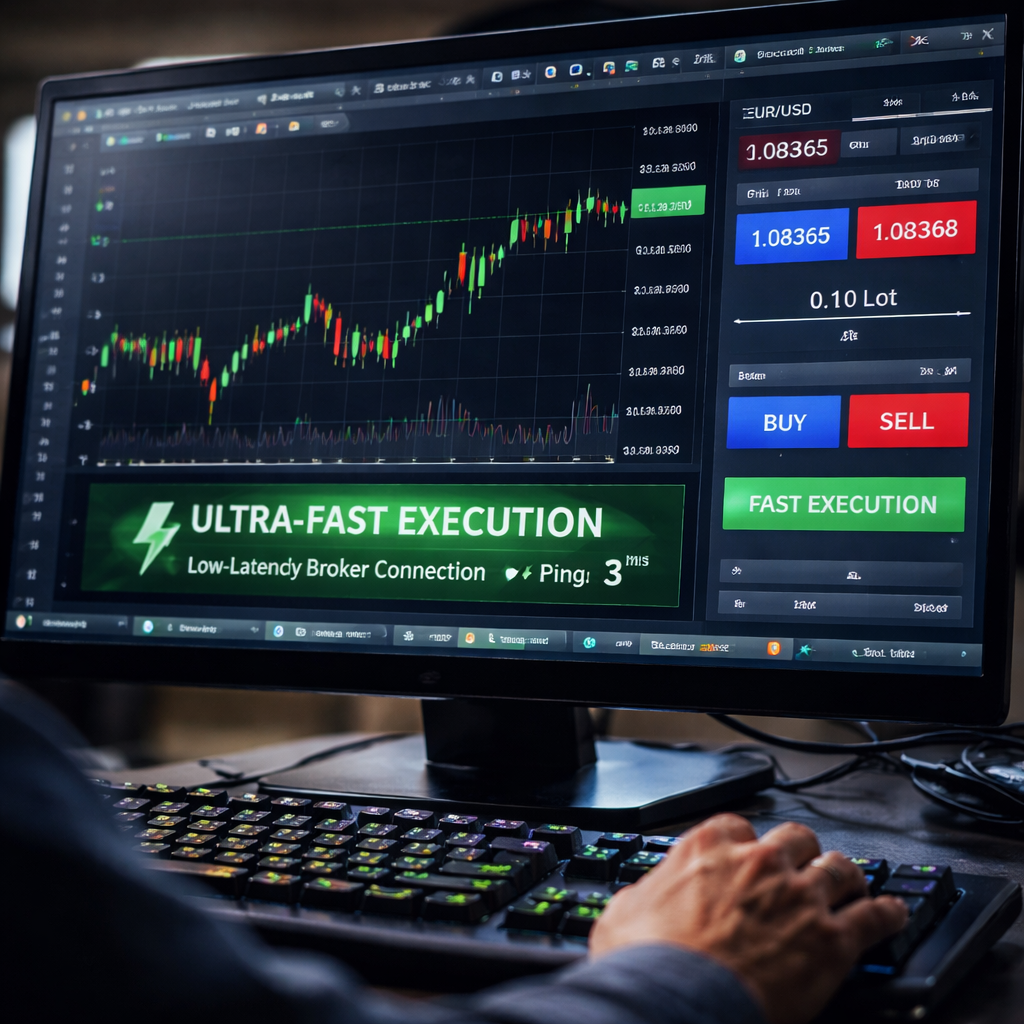
Start by trimming the steps between decision and order. Use hot‑keys, set default lot sizes, and keep your chart layout uncluttered. A clear workspace lets you click “buy” the moment the price breaks your level.
Next, lock in a reliable broker with low latency servers. Test the connection by placing a dummy order and timing the response. If it takes more than a few hundred milliseconds, consider a VPS located near the broker’s data center.
Automation can help, but even semi‑manual traders benefit from a checklist. The Forex Trading Checklist PDF walks you through pre‑trade checks so you don’t pause to think about basics mid‑trade.
Another tip is to pre‑load your order ticket with the most common parameters – stop loss, take profit, and trade size. Then, when the signal fires, you only need to confirm. This cuts precious seconds.
Finally, give yourself a quick mental reset before each session. A few deep breaths calm nerves, so your fingers stay steady and your clicks stay fast.
If you need a light‑hearted break, check out this guide on photo booth rental in Murrieta. A fun diversion can keep you fresh for the next trade.
Step 1: Choose a Low‑Latency Broker and Account Type
Fast trade execution starts with the broker you pick. A broker that runs its servers close to the major forex liquidity pools can shave off those precious milliseconds.
First, look for a broker that offers a “colocation” option or data‑center locations in London, Frankfurt or New York. If the broker’s VPS sits in the same city as the exchange’s matching engine, your order reaches the market almost instantly.
Next, check the broker’s order‑type menu. Market orders are the quickest, but a limit order that’s already in the book can also be filled in a flash. Choose an account type that lets you set the default order size and stop‑loss levels once, then just hit “send” when the signal appears.
Ask yourself: does the broker give you a direct market access (DMA) feed, or does it route trades through a dealer? DMA usually means less hops and lower latency.
Run a simple test: open a demo account, place a small order, and time how long the confirmation pops up. If you see more than 300 ms, try the broker’s VPS or a different provider.
Once you’ve locked in a low‑latency broker, match it with an account type that fits your trade size and risk plan. Many traders start with a micro‑lot account to keep costs low while they fine‑tune their setup.
Finally, keep an eye on latency stats each day. Most platforms show ping or round‑trip time; if you notice a jump, switch servers or contact support. Staying on top of this metric helps you keep the edge.
Step 2: Optimize Your Trading Platform Settings
When you’ve picked a fast broker, the next trick is to trim the time your platform adds.
Start by locking in default order values. Set the lot size, stop loss, take profit once and save the preset. Then, when a signal pops, you only press “send”. No typing, no hunting for fields.
Turn on hot‑keys. Assign a single key to open a new ticket, another key to confirm. Many traders map “F1” to buy and “F2” to sell. Test the keys in a demo session until the rhythm feels smooth.
Clean up the chart layout. Hide indicators you never use, close extra windows, and keep the price pane at the top. A tidy screen reduces mouse travel and cuts a few milliseconds.
Check the platform’s latency display. Some brokers show ping in the status bar. If the number climbs above 250 ms, pause and reboot the app or move to a lighter theme. A light UI often runs faster.
Enable “auto‑fill” for common fields if the software offers it. Auto‑fill can pre‑populate your stop loss at a set distance from the entry price, so you don’t have to type a number each time.
Disable auto‑updates while you trade. Background downloads can steal bandwidth and pause the UI.
Give the platform a high CPU priority. On Windows you can right‑click the program in Task Manager, go to Details, and set priority to High. On macOS you can limit other apps that hog the CPU.
Prefer a wired Ethernet connection over Wi‑Fi. A stable cable can shave a few milliseconds and keep the ping steady.
Finally, run a quick speed test each week. Open a tiny market order, note the time the confirmation appears, and record it in a simple spreadsheet. Spotting a drift early lets you switch servers before the lag hurts.
Now you have a faster platform, you’re ready for the next step.
Step 3: Use Direct Market Access (DMA) and Co‑Location Services
Now that your platform runs fast, the next gain comes from where your order lives before it hits the market. Direct Market Access, or DMA, lets you send orders straight to the exchange’s matching engine, cutting out the dealer’s extra hop.
Ask yourself: do you see the same ping on a broker’s shared feed as you do on a private line? If the answer is no, you’re probably still on a routed feed. Switching to a DMA feed can shave a few more milliseconds, which feels like a whole extra beat in a fast market.
Here’s a quick way to test it:
- Open a demo account that offers both DMA and standard routing.
- Place a tiny market order on each feed.
- Note the time between click and confirmation. The DMA route should be noticeably quicker.
If the DMA test wins, look for a broker that also offers colocation. Colocation means you rent rack space in the same data centre where the broker’s servers sit. The signal travels over a short fiber link instead of the public internet.
Setting up colocation isn’t a one‑click thing, but it follows a simple checklist:
- Choose a data centre that hosts the broker’s matching engine (often London, Frankfurt, or New York).
- Rent a slot or virtual rack that matches your hardware needs.
- Connect your VPS or dedicated box via a low‑latency fiber line.
Even if you can’t afford a full‑time colocation slot, many providers sell “micro‑colocation” hours that still give you a measurable edge.
Below is a quick comparison of the three main options you might consider.
Pick the step that fits your budget and trading style. Even moving from a shared feed to DMA can feel like a fresh burst of speed.
Step 4: Implement Efficient Order Routing and Algorithmic Execution
Now the order leaves your screen. If it takes a long path, you lose speed. The fix is to choose the shortest route and let a tiny program send the order for you.
Pick a fast routing option
Look at what your broker offers. DMA feeds usually beat shared feeds by a few milliseconds. If you can rent a micro‑colocation slot, the order travels over a short fiber line instead of the public internet. Even a small cut can feel like a big win when the market moves fast.
Write a simple rule‑based script
Start with one clear rule: when the price hits your entry level, send a market order with your preset lot size and stop loss. Use the broker’s API or a cheap VPS to run the script. Keep the code short – a few lines that read the price, check the rule, and call the order function.
Test the script on a demo account first. Record the time from price hit to order confirmation. If it’s over 300 ms, look for a faster API endpoint or move the VPS closer to the exchange.
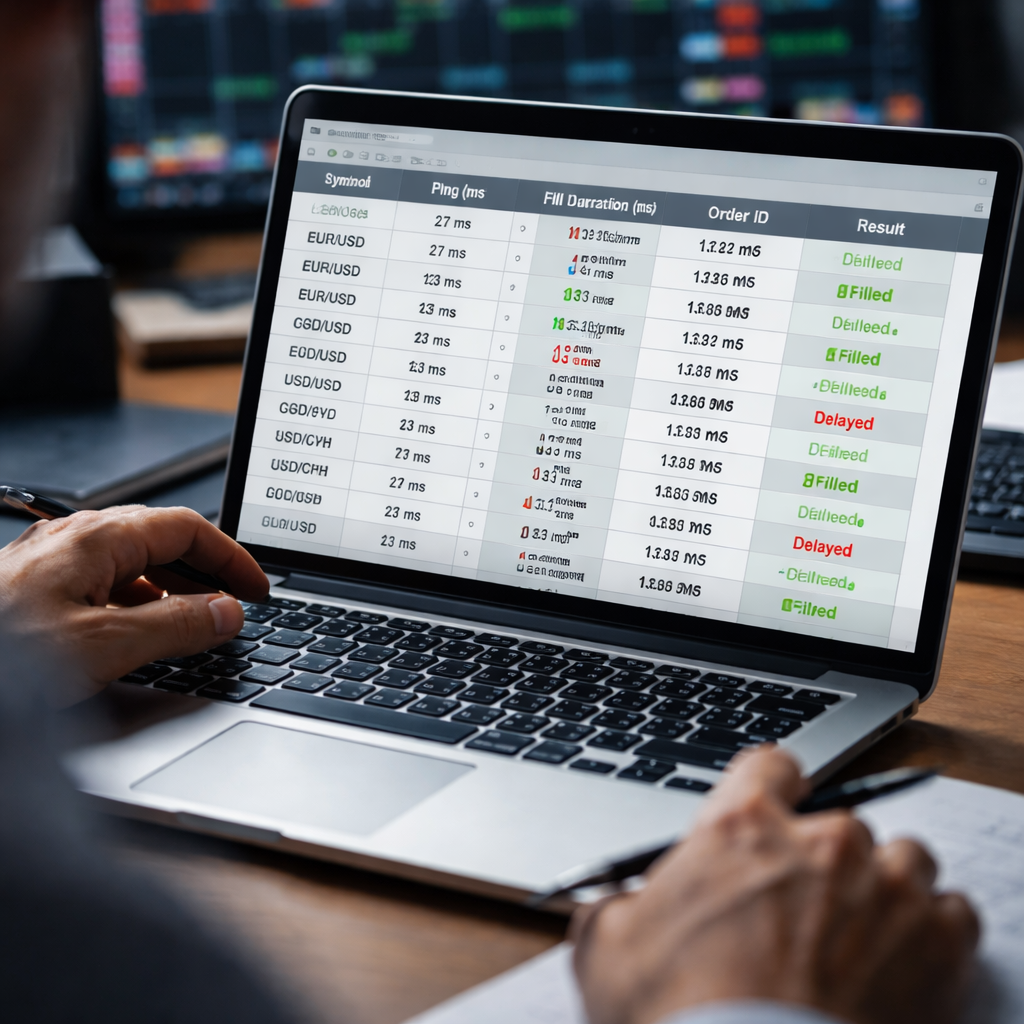
Check latency every day
Make a tiny spreadsheet. Each day, note the ping, the route you used, and the execution time. Spot a rise? Switch servers or ask support for a better line.
Finally, blend the route and the script into one routine. When you see the signal, the program fires, the order jumps the shortest path, and you get the fill faster. That’s a solid step toward how to improve forex trade execution speed.
Step 5: Monitor Performance and Continuously Refine Your Setup
You’ve set up the line and the script. Now you need to watch it like a coach watches a player.
Log every trade
First, log each trade’s ping, the route you used, and the time from click to fill. Put the data in a tiny sheet you can open fast.
Spot changes
Each night, look at the sheet. Spot any rise in ping or a slower fill. If a day shows a jump of 20 ms, note it.
Set alerts
Second, set a simple rule for alerts. Use a small script that emails you when average fill time climbs above 300 ms for three trades in a row.
Adjust fast
When you get an alert, act fast. Move the VPS to a closer node, or ask the broker for a better line. Small moves can shave a few ms.
Run weekly test
Third, run a weekly test. Place a tiny market order at the same price each time and record the exact time it takes. Compare it to last week’s result. If it’s slower, dig into why.
Record tweaks
Finally, keep a note of every change you make and its effect. Over weeks you’ll see a pattern of what fixes work best.
Make this review a habit. Even a few minutes each day can keep your edge sharp and stop latency from creeping in.
Remember, speed is a habit, not a single fix. Keep testing, keep logging, and you’ll stay ahead.
Conclusion
Speed matters, but it’s built on habits you repeat every day.
By watching ping, logging fills, and acting on alerts, you keep latency in check.
Simple scripts, weekly tests, and quick server tweaks can shave the few milliseconds that cost a trade.
Remember, the edge comes from consistency, not a single gadget.
Make a habit of noting each change and its impact; over weeks the pattern will guide you.
Ready to lock in faster fills? Grab the free Forex Trading Journal PDF and start tracking today.
Keep testing, keep logging, and your execution speed will stay ahead of the market.
If a ping spikes above 300 ms for three trades, move your VPS or ask the broker for a better line right away.
Over time you’ll see which tweaks give the biggest gain, so you can focus on the most effective changes instead of chasing every small tweak.
Stick to the routine and the market’s speed will feel like a friendly race.
Frequently Asked Questions
How can I check my trade latency quickly?
First, open your platform’s status bar and note the ping number. Write it down in a tiny sheet each time you place a trade. If the ping sits above 300 ms for three trades in a row, treat it as a warning sign. Set a simple alert script or a spreadsheet rule that flags the spike, so you can act before a slow fill hurts you.
What’s the easiest way to set up hot‑keys for faster order entry?
Pick two keys you can reach without looking—F1 for buy and F2 for sell works for many traders. Go into the platform’s settings, assign the keys, and save the preset. Test the keys in a demo session until the click feels instant. Keep the mapping the same across all your charts so muscle memory does the work, not your eyes.
When should I consider moving to a VPS or colocation?
You should think about a VPS or colocation when your ping regularly breaks the 300 ms barrier or when you trade during high‑impact news. A VPS close to the broker’s data centre cuts the internet hops, while colocation puts your server in the same rack as the exchange. Weigh the cost against the potential gain of a few extra milliseconds that can save a trade.
How often should I run a speed test and what should I look for?
Run a speed check at least once a week. Place a tiny market order at the same price level each time and record the exact time from click to confirmation. Compare the new number with last week’s record; a rise of more than 20 ms usually means something has changed. If you see a slowdown, revisit your network, VPN, or VPS location and tweak until the time drops back.